

Mulberry Upside Down Cake
& What My Mulberry Tree Taught Me About Baking

If you would like to follow along with a video of this recipe, check out my Mulberry Upside Down Cake YouTube Video.

Every year my mulberry tree gives me about a two-week window. That’s it. If I’m paying attention, I get to use them. If I’m not, the birds get them first. The birds are always paying attention.
There’s something I’ve come to love about ingredients that don’t wait for you. Mulberries don’t sit on a grocery store shelf. They don’t have an off-season backup. They’re here, and then they’re gone, and that urgency has made me a more present cook. When the tree is dropping, I’m in the kitchen. That’s the deal.
This year I wanted to make something that actually honored what a mulberry is: a deeply flavored, jewel-colored, absurdly beautiful fruit that most people have never tasted because it’s nearly impossible to ship. If you grow them or forage them, you know. They’re like blackberries, but better. There’s a slight winey quality, a little tartness, and a sweetness that just melts in your mouth. They deserve better than being buried in a muffin.
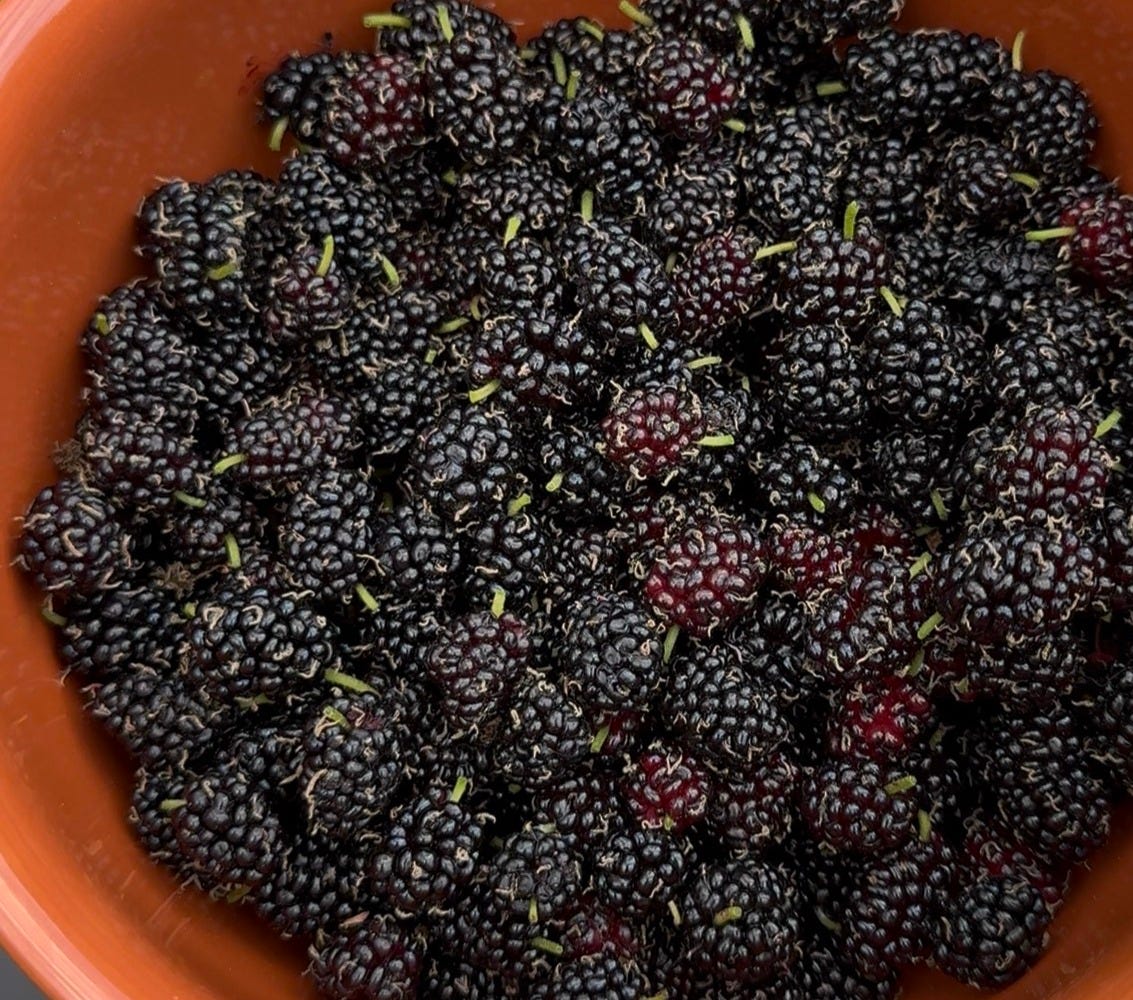
An upside-down cake felt like the right answer. The berries sit at the bottom of the pan the entire time they bake, nestled into a layer of brown butter and brown sugar, slowly getting jammy and caramelized and almost custardy around the edges. Then you flip it, and suddenly you have this stunning, deep-purple jewel-toned cake that looks like it took way more effort than it actually did. The visual payoff is unreal! Especially with black mulberries, which stain everything they touch in the best possible way.
About this recipe
A few intentional choices here that I want to walk you through, because understanding the why makes you a better baker. I had an original recipe that just didn’t feel quite right. But this year, I tweaked it to perfection.
Double brown butter. Most upside-down cake recipes just melt butter for the base. I decided to brown it for the topping base and for the batter itself. Browning butter takes maybe five extra minutes total and adds a nutty, almost toffee-like depth that you can’t get any other way. It happens when the milk solids in butter caramelize from the heat. The smell alone will make your kitchen feel like a bakery. It pairs beautifully with mulberries because it echoes and deepens that winey, complex flavor in the berries themselves.


Cardamom and lemon zest. These two together do something really nice in a cake. The lemon zest brightens everything and keeps the richness of the brown butter from feeling heavy. The cardamom adds a subtle floral warmth. It’s not a flavor most people can identify by name, but it makes them ask, “What is that?” in a good way. If you don’t have cardamom, a small amount of cinnamon works, but I’d encourage you to try it as written at least once.
Sour cream or Greek yogurt in the batter. This is my secret for a tender, moist crumb that doesn’t dry out the next day. The acidity also reacts with the baking soda to give the cake a little extra lift. Use whichever you have on hand, and use full-fat for both. My go to is the sour cream.
The 10-minute cool. This is non-negotiable. You need enough time for the caramel to set slightly so the cake holds its shape when flipped, but not so long that it hardens and glues itself to the pan. Set a timer. At 10 minutes, run a thin knife around the edge, place your serving plate face-down on top of the pan, and flip with confidence. Don’t hesitate! Flip it like you mean it.
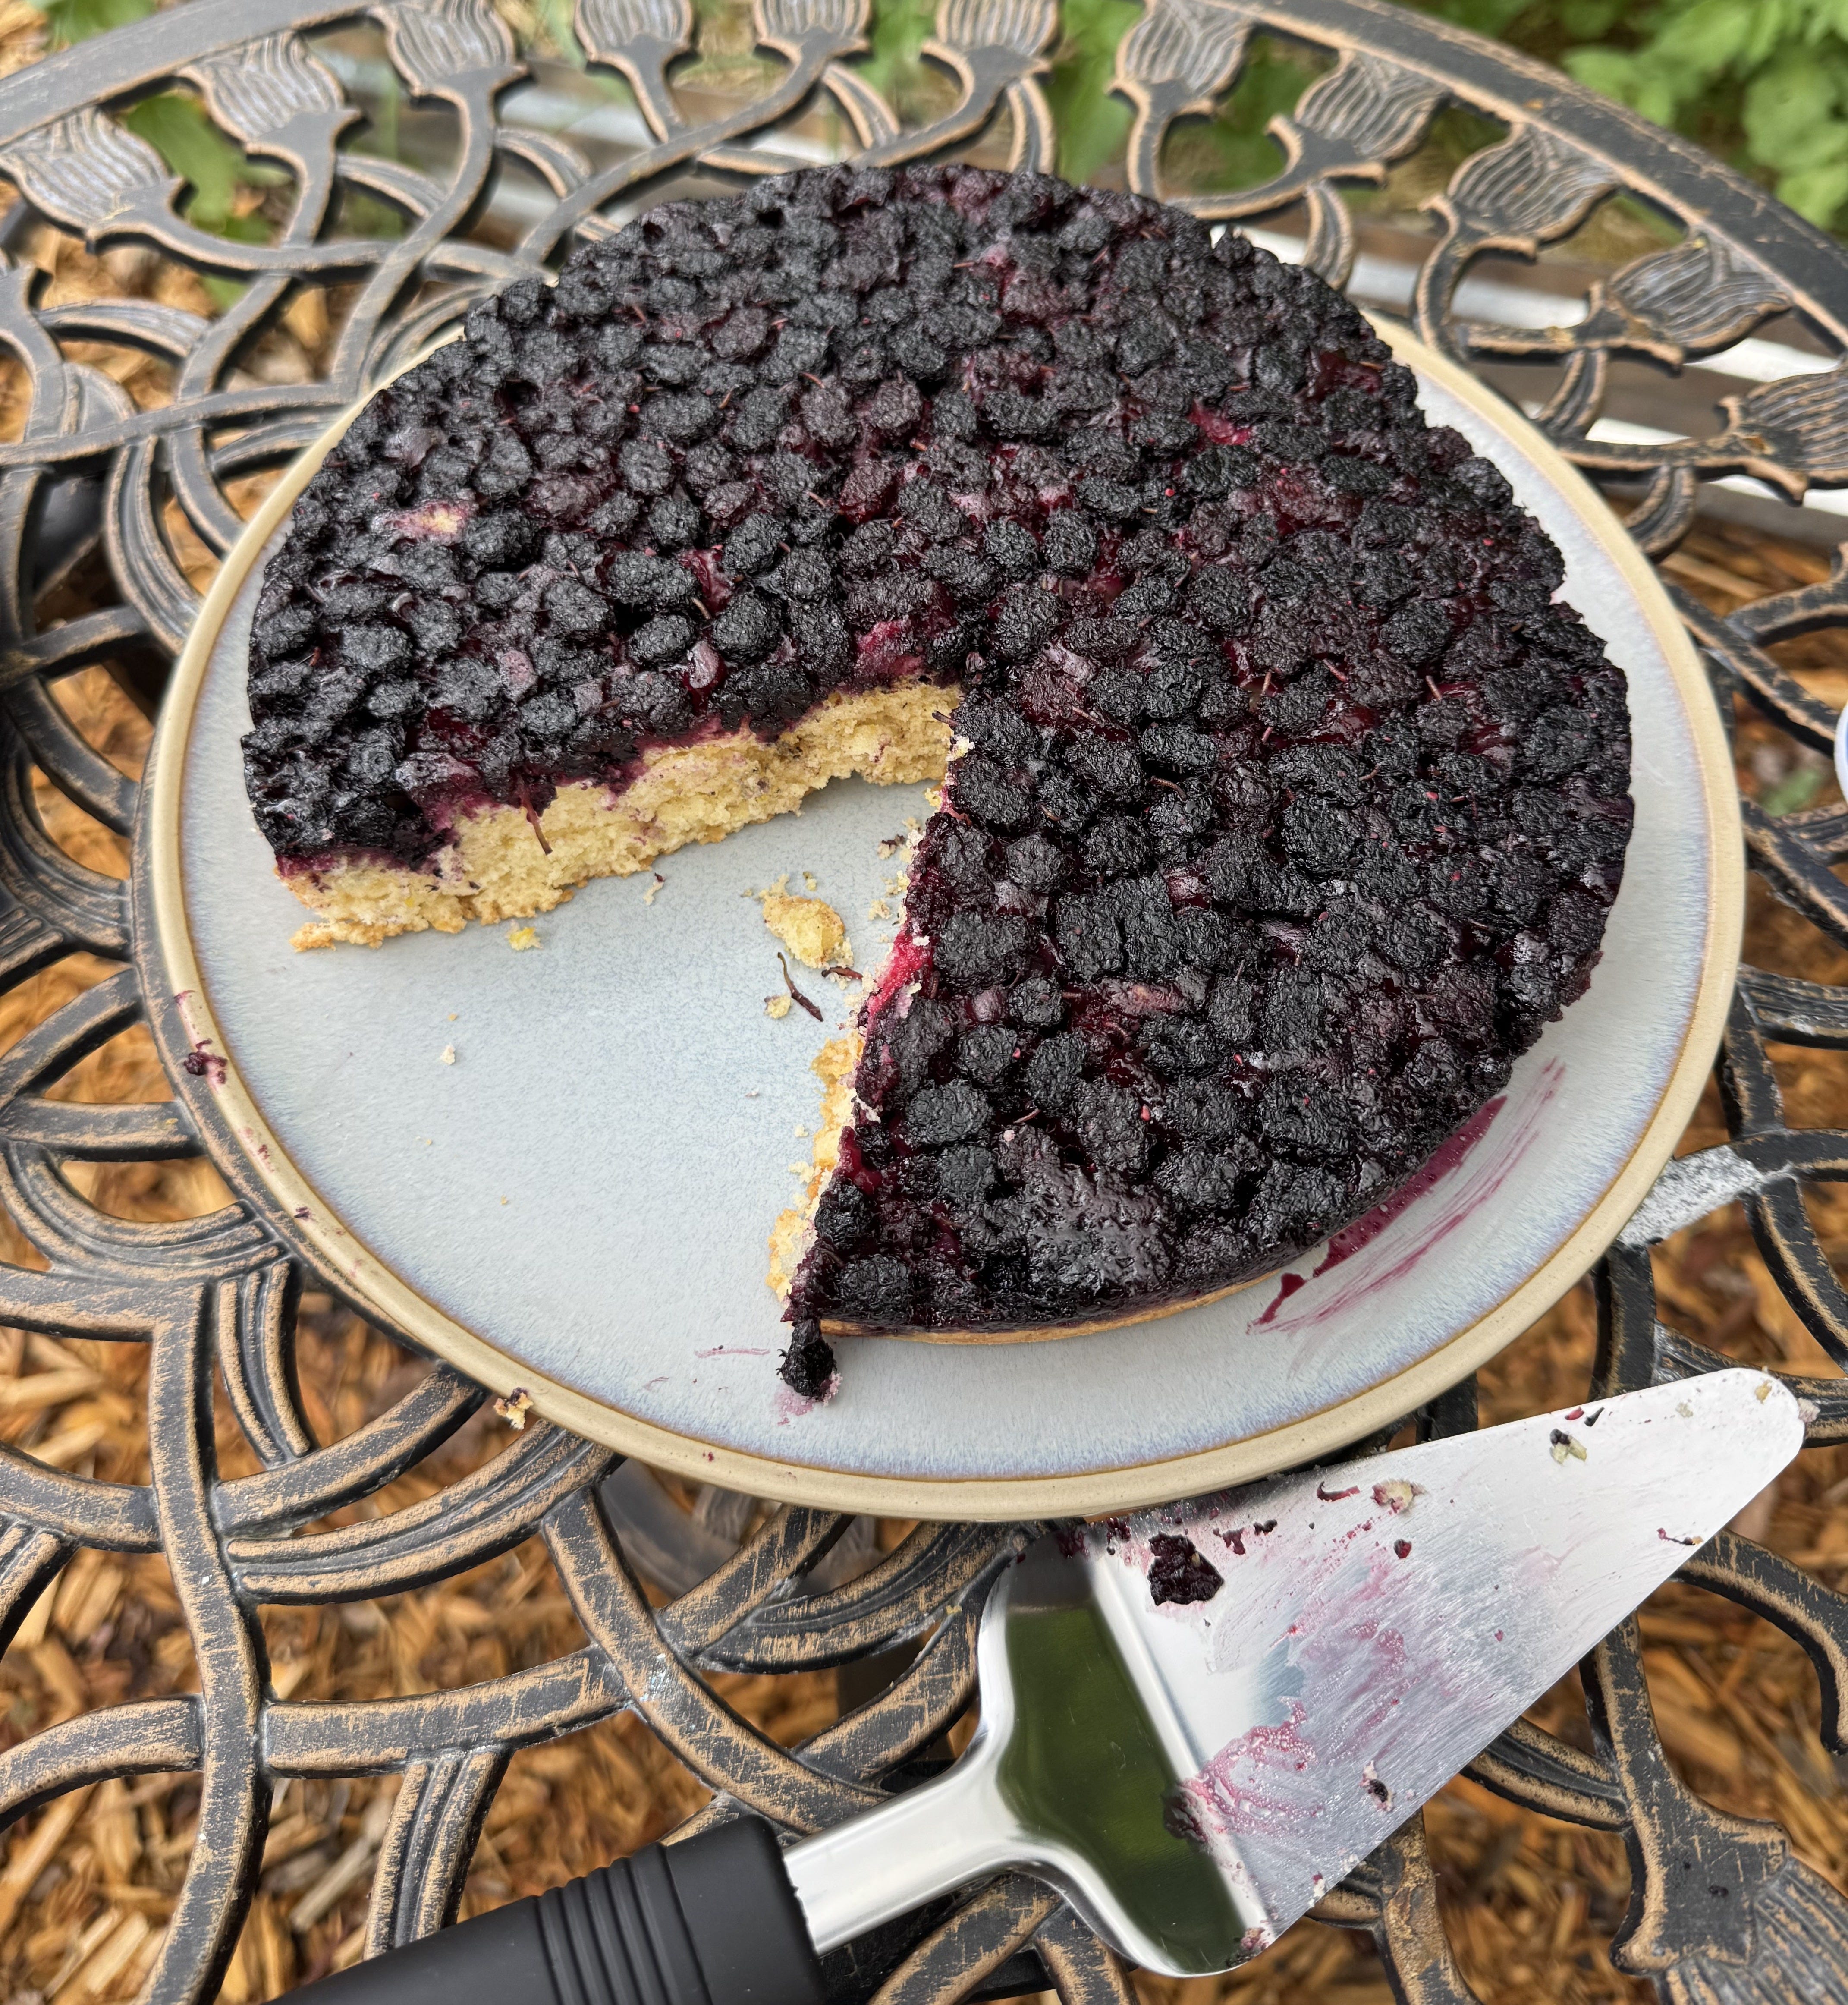
Fresh Mulberry Upside-Down Cake
Serves 8
Ingredients
For the topping:
2 cups fresh mulberries
3 tbsp light brown sugar
2 tbsp unsalted butter
For the cake:
½ cup unsalted butter
¾ cup granulated sugar
2 large eggs
1 tsp vanilla extract
½ cup sour cream or full-fat Greek yogurt
Zest of 1 lemon
1½ cups all-purpose flour
1½ tsp baking powder
¼ tsp baking soda
½ tsp salt
½ tsp ground cardamom
Instructions
Preheat your oven to 350°F. Grease a 9-inch round cake pan well and line the bottom with a circle of parchment paper. Grease the parchment too. Don’t skip this step.
Melt 2 tbsp butter in a small saucepan over medium heat, swirling occasionally, until it turns golden and smells nutty, about 2-3 minutes. Pour it into the prepared pan and sprinkle the brown sugar evenly over the top. Scatter the mulberries across in a single layer. They don’t need to be perfect. Set the pan aside.
In the same saucepan, melt the remaining ½ cup butter over medium heat and keep going until it browns — you’ll see golden bits forming at the bottom and smell that toasty hazelnut aroma, about 4-5 minutes. Pour it into a large mixing bowl and let it cool for 5 minutes. Don’t rush this step or you’ll scramble your eggs.
Whisk the granulated sugar into the cooled brown butter until combined. Add the eggs one at a time, whisking well after each. Stir in the vanilla, sour cream, and lemon zest.
Add the flour, baking powder, baking soda, salt, and cardamom directly to the bowl. Fold with a spatula until just combined — a few streaks of flour are totally fine. Overmixing develops gluten and makes the cake tough, so stop when it looks almost done.
Spoon the batter over the mulberry layer and gently spread it to the edges, trying not to disturb the berries. Bake for 35-40 minutes, until a toothpick inserted in the center comes out clean and the edges are pulling away from the sides of the pan.
Set a timer for 10 minutes and let the cake cool in the pan. Run a thin knife around the edge, place a serving plate on top, and flip in one confident motion. Peel off the parchment. If any berries stick, just nudge them back into place — nobody will know.
Serve warm or at room temperature with lightly sweetened whipped cream or crème fraîche. The cake keeps covered at room temperature for 2 days, or refrigerated for 4.
Mulberry season is two weeks long if you’re lucky. This cake is worth being present for. I hope you love it!
-Meg
